Tuesday, November 18, 2014

Winter Interest Containers

The Garden Corner, a garden center in Tualatin
The secret to exciting winter interest containers is two-fold: containers large enough to accommodate multiple plants, and multiple choice plants. The Garden Corner is known for its baskets. They have everything from the world’s smallest hanging baskets to the world’s largest hanging basket. And they plant them up for home gardeners and for cityscapes, or they will help you plant your own. I was intrigued by one of the baskets created on the most recent of The Garden Corner’s weekly videos.

The basket featured blue, silver and dark green foliage. There were no annuals or flowers in sight, just one perennial (a grass) and lots of conifers and evergreen woody ornamentals. The arrangement was anchored with a soft, blue-toned conifer. Cedrus deodora ‘Prostrate Beauty’, Euphorbia ‘Silver Swan’, variegated Vinca minor ‘Ralph Shugert’, and what looked like a cultivar of Rhododendron with indumentum and a dark green Osmanthus filled out the basket. Cut stems of the corkscrew willow added the finishing touch of texture. Sweet! Not only does it look good in winter, it would look good all year, which makes it a good investment. Add some weather-resistant holiday decorations (which The Garden Corner also sells), and you’ll be set for the holidays. (And you can take a photo with one of the resident chickens!)
A winter window box. Great use of burlap!
OAN Executive Director Jeff Stone with a Garden Corner Chicken

Some of the world's smallest hanging baskets. A perfect gift, perhaps?

Shopping at The Garden Corner for decorative items to put in arrangements.


Tuesday, November 11, 2014

Gardening for Nature

Asclepias speciosa (Photo: Wikipedia Commons)
The act of gardening – tending and cultivating a plot of land – lets us actively participate in/with/for nature. One of the actions I’m taking to create a healthy slice of nature is planting for wildlife. Case in point: milkweed (Asclepias speciosa). A few years ago, I didn’t  know what milkweed looked like, but I did know Monarch butterflies rely on it for sustenance during the caterpillar life stage. I actually smelled a milkweed before I laid eyes on it. Lured by its lovely fragrance -- perhaps like its pollinators? -- I found its clusters of intricate flowers by following its scent.

There are well over 100 species of milkweed, but only a few are native to the Northwest. Most species are toxic to vertebrate herbivores if ingested due to cardenolide alkaloids contained in the leaves and stems. This toxicity makes the Monarch caterpillar and butterfly unpalatable to potential predators. Asclepias speciosa is said to be the least toxic of the milkweeds. Named by Carl Linnaeus after Asclepius, the Greek god of healing, it’s an unusual plant in a number of ways. Its pollen is grouped into pollen sacs (pollinia), rather than being individual grains as is typical of most plants. “The feet or mouthparts of flower-visiting insects such as bees, wasps and butterflies, slip into one of the five slits in each flower formed by adjacent anthers. The bases of the pollinia then mechanically attach to the insect, pulling a pair of pollen sacs free when the pollinator flies off.” Its sap contains latex and milkweed filaments offer good insulation properties. Milkweed is grown commercially as a hypoallergenic filling for pillows. And Native Americans used it as a source of sweetener due to the high dextrose content of its nectar. [Source: Wikipedia]

If you have a sunny location, milkweed is worth planting for the fragrance and flower form, but it is also worthwhile planting to help save the migrating Monarch butterfly population. 

For more information on milkweed and its importance to the survival of Monarch butterflies, check out these sources: Wikipedia, Monarch Joint Venture and Monarch Watch. For information on butterfly gardening, visit the North American Butterfly Association’s website. Click here for information about Monarch butterflies.

Tuesday, November 4, 2014

Planting Inspiration

Plants Make Our Lives Better artwork by Annabelle, age 9.
Just in time for the holidays, the Oregon Association of Nurseries (OAN) is publishing its first ever e-calendar, which features the artwork of elementary school children, ages six to 11. We asked classrooms to encourage their students to create artwork that celebrates how plants make our lives better. The resulting art is beautiful and inspiring! The calendar, which includes monthly plant recommendations by Great Plant Picks and fun facts about how plants make our lives better, can be downloaded at www.PlantSomethingOregon.com.

The OAN, and nursery and landscape associations in 11 other states, are using the Plant Something™ program to encourage more gardening and education about the health and well-being, financial and environmental benefits of plants and gardening. To learn more about the program, visit the national Plant Something website and stay in touch with the Plant Something initiative via its Facebook page.

Some more Plant Something artwork for you to enjoy. Lots of trees. Lots of clean water. And lots of birds and pollinators.

Alberto, age 9
Conor, age 10

Isabella, age 10

Alexandra, age 8

Sherifa, age 10

Joy, age 11

Tomas, age 10

Lauren, age 10

Chloe, age 10

Nathan, age 10

Megan, age 9

Carmen, age 9
Riley, age 10

Cheyenne, age 11

Sierra, age 11

Jakob, age 11

Tariq, age 11

Abdulkadir, age 11

Manar, age 10

Katya, age 10

Mohammad, age 10

Natallie, age 10

Alan, age 11

Aiden, age 11

Logan, age 11

John, age 11

Jake, age 11

Cierah, age 10

Luke, age 9

Emily, age 9


Matthew, age 10

Paisley, age 7

Cruz, age 7

Sophia, age 7

Abigail, age 8

Jenna, age 9

Wednesday, October 29, 2014

Rare Plant Theft

Nymphaea thermarum, the smallest water lily in the world
. Photo: NPR.org
Why should we care if a rare plant is stolen from a botanical garden, dug in the wild for collecting, conserving or propagating for profit, or bulldozed because its habitat is planned for a “higher” use? In January, an endangered tiny tropical water lily, Nymphaea thermarum, was spirited away by a visitor from Kew Gardens, the world’s largest collection of living plants. So what? In a fascinating article, The Guardian reporter Sam Knight investigates what happens when plant obsession turns criminal.

Getting back to the tongue-in-cheek “so what” question, as the article points out, plants are the basis of most medicines. If a plant becomes extinct, who knows what illness might not be curable as a result? Who knows what other species need it to survive? And as Kew Gardens’ plant ‘codebreaker’ Carlos Magdalena poetically explains: Each chromosome is a letter. Each gene is a word. Each organism is a book. “Each plant that is dying contains words that have only been spoken in that book,” he said. “So one plant goes, one book goes, and also one language goes and perhaps a sense of words that we will never understand. What would have happened with Shakespeare with no roses? And Monet with no water lilies?” 

Thursday, October 23, 2014

Garden “Bathing”

Nature is good for us. In Japan where more than half the population is stressed, they advocate a practice called Shinrin-yoku, translated as forest bathing. Developed in Japan during the 1980s it has become a cornerstone of preventive health care and healing in Japanese medicine. If a person simply visits a natural area and walks in a relaxed way there are calming, rejuvenating and restorative benefits to be achieved.* Paraphrasing John Muir: “Thousands of tired, nerve-shaken, over-civilized people are beginning to find out that going to the mountains is going home. Wilderness is a necessity.” I’m taking a leap of faith that we experience similar physical, emotional and mental wellbeing benefits with a garden “bath.”

I had the pleasure recently of forest bathing at Lost Lake near Mt. Hood on a perfect early October day and felt the relaxing results for days. I also get a similar feeling of stillness and connectedness in my garden. If you don’t have a garden, take advantage of the many public gardens in Oregon (click here for a list).

Take a garden “bath.” Go into a garden. Walk slowly. Breathe deeply. Open all your senses. Ease into happiness. 

To learn more about “Forest Bathing” visit these sites: *http://www.shinrin-yoku.org, http://www.hphpcentral.com/article/forest-bathing; http://www.outsideonline.com/fitness/wellness/Take-Two-Hours-of-Pine-Forest-and-Call-Me-in-the-Morning.html; and http://www.ncbi.nlm.nih.gov/pmc/articles/PMC2793347/.

Monday, October 6, 2014

Species Tulips for Repeat Performance

Tulipa acuminata Photo: www.brentandbeckysbulbs.com
Tulips probably originated thousands of years ago in the harsh growing conditions of a mountainous corridor that stretches along the 40th parallel north between Northern China and Southern Europe. Hybrid tulips usually receive all the attention and glory, but species tulips and their hybridized brethren typically offer more longevity in the garden.

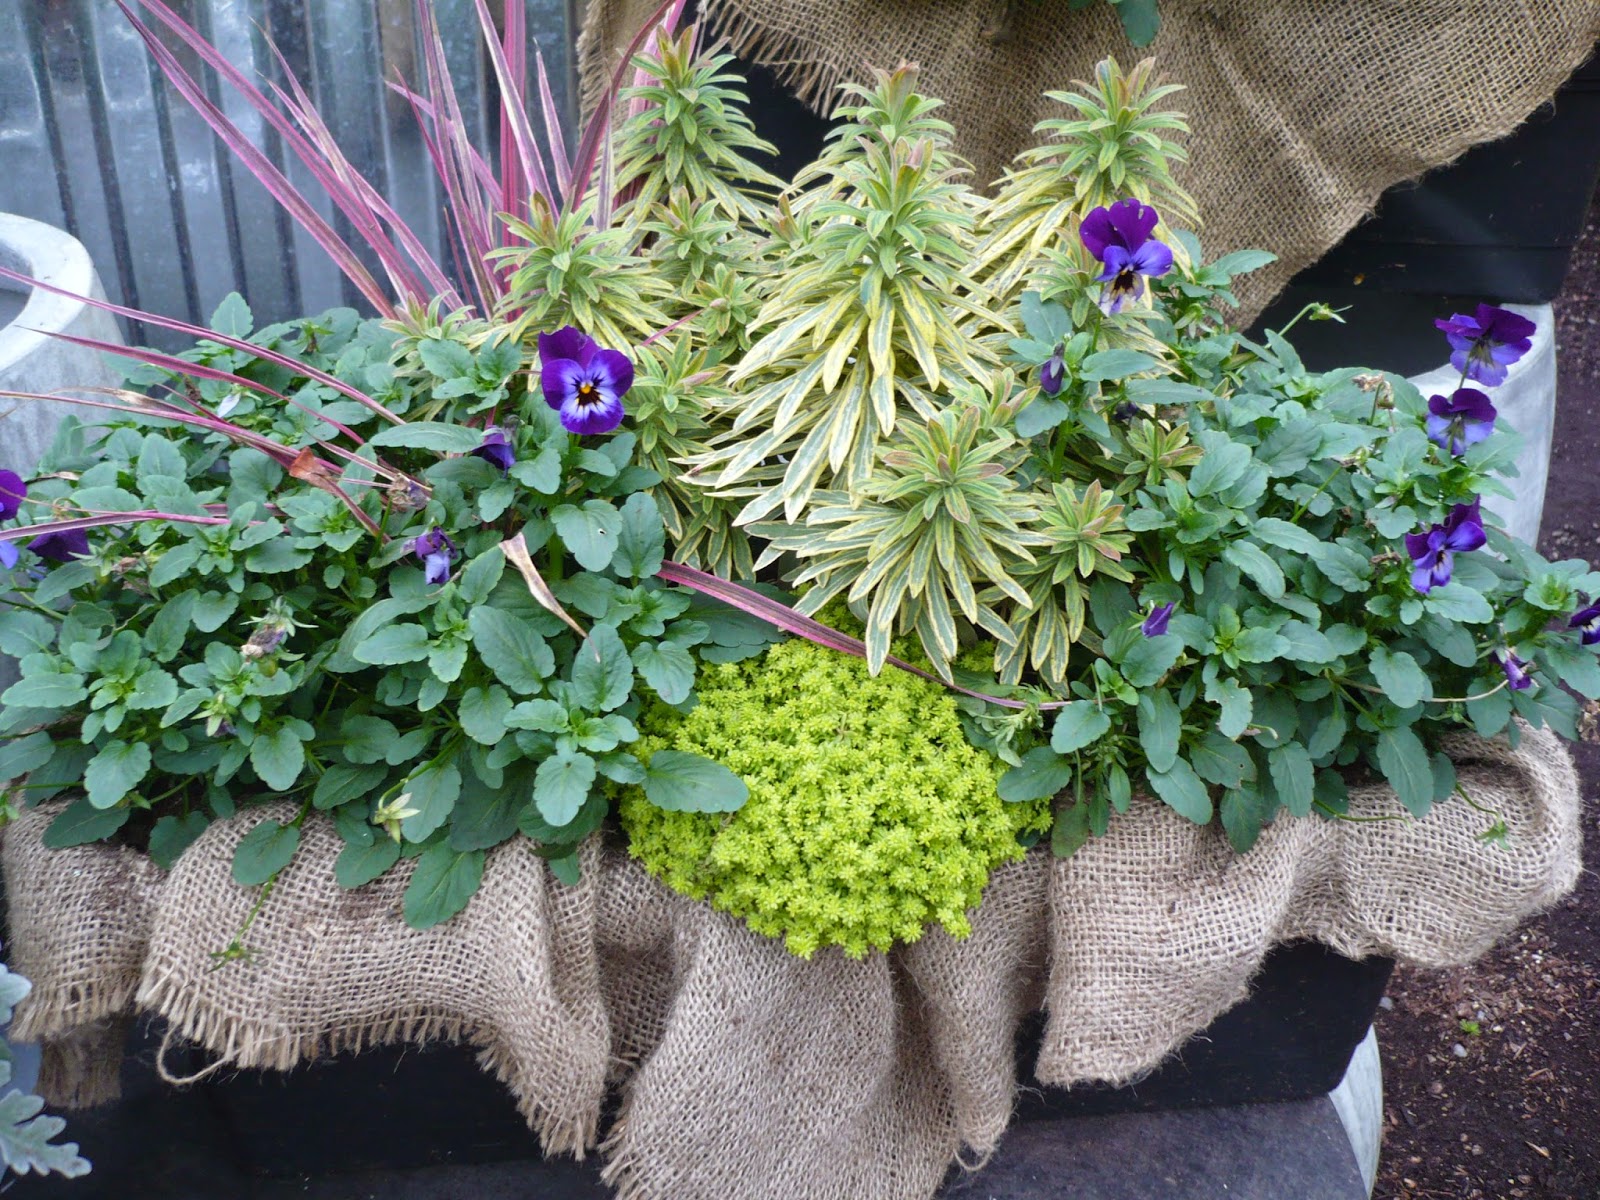
Species tulips can be described as “the wildflowers of the tulip family.” Under favorable growing conditions, they will come back year after year and usually increase in numbers. They are smaller and considered less dramatic than the beautiful hybrids, but they also offer several advantages. Because they have short sturdy stems, they are less vulnerable to stormy spring weather. Additionally, it's like having two flowers in one. Their flowers usually remain closed through the morning or on cloudy days, showing off the outside color of the petals, and when warmed by the sun, they open to reveal their inside petal color.

In the maritime Pacific Northwest, late fall is the time to plant tulips. Because of their smaller size, you’ll want to plant more of them to create a visual impact. And like the larger tulips, plant them with perennials requiring the same growing conditions (sun, excellent drainage, no summer water) to cover dying foliage after the blooms are spent.
T. clusiana var. chrysantha Photo: www.vanengelen.com

To get a glimpse of rare wild tulip species growing in their remote native habitats, explore www.tulipsinthewild.com, a site created by the Amsterdam Tulip Museum and the U.S. wholesale bulb seller Colorblends.

Wooden Shoe Tulip Farm in Woodburn, Oregon, sells a selection of species tulips via mail order.
T. praestans 'Unicum' Photo: www.woodenshoe.com

The National Gardening Association offers these tips to increase your success at perennializing tulips: 

When and where to plant. Plant tulips any time the soil six inches deep is 60° F or colder. As a general guide, plant in September or early October in USDA Climate Hardiness Zones 4 and 5; October to early November in zones 6 and 7; November to early December in zones 8 and 9; and late December to early January in zone 10. In zones 8 through 10, refrigerate tulip bulbs for six to eight weeks before planting. Place them in a paper bag away from ripening fruits (the fruits produce ethylene gas, which destroys the flower bud within the bulb).

How to plant. Tulips grow best in full sun in well-prepared soil with fast drainage. Avoid planting where water collects, or in locations that are prone to late frosts.

The rule is to plant tulips pointed end up and six inches deep, meaning four inches of soil above the top of the bulb. Plant a little deeper, to eight inches, if soil is light or sandy, or if pests such as voles are a problem. (Those two extra inches put them just out of reach of voles.) Deep planting also keeps the bulbs cooler, an advantage in mild-winter areas. Note: If you add mulch to the surface after planting, include its depth as a part of your overall planting depth. (For instance, five inches deep in soil plus three inches of mulch = eight inches deep.)

For an attractive flower display, plant five tulips per square foot, or 250 bulbs per 50 square feet. Space individual bulbs about five inches apart. When planting a grouping, take the extra care to plant at exactly the same depth; this ensures that they all will bloom at the same time. With a shovel, excavate soil to create a level planting base. Set bulbs into the bed, fertilize with a low-nitrogen granular fertilizer specially formulated for bulbs, and follow label directions about the amount to apply, and then cover with excavated soil. Fertilize each fall thereafter.

After planting, firm soil and water thoroughly. Water is especially important right after planting to ensure that the plants develop a strong root system before going into winter dormancy. Don't water again until leaves appear. In cold-winter areas (zones 3 through 6), apply straw mulch about a month after planting. This gives the bulbs time to begin growth before the soil freezes solidly. The mulch also protects the bulbs if snow cover is light or nonexistent. In mild-winter areas, mulch after planting to help keep soil as cool as possible for as long as possible.

In the spring, after the blossoms have passed their peak, clip off the flower heads and allow the green foliage to die back. This lets the plant put all its energy into building a strong bulb for the next season.

Friday, September 26, 2014

Playing with Pumpkins

Pumpkin topiary. Photo: www.bhg.com
Fall has arrived. Even though it is the perfect time to add new plants and move around existing plants (both of which I need to do), a gardener can’t be blamed for wanting a little diversion and decorating for fall instead. Pumpkins are filling the garden centers and stores and they are just begging to be part of the outdoor décor.

The new guinea impatiens on my porch have been unceremoniously replaced with a pumpkin — or probably more correctly, squash — “topiary.” Other white, green and orange squash are now sprinkled about the approach to my front steps in anticipation of trick or treaters. In my search for ideas, I thought your fall decorating might be inspired by these project photos and videos. If you’re not up for doing a pumpkin project on your own, Cornell Farm is offering two Painted Pumpkin Workshops on Sunday, October 5 (the family-friendly version is offered from 11 a.m. to 1 p.m., and the adult version, which includes beverages that might help your creativity, is offered from 3 - 5 p.m.). There is a fee to participate ($20 and $30 respectively for three pumpkins). Please call 503.292.9895 to reserve your space.

Hanging Pumpkin Planter: Owner Jon Karsseboom and his staff at The Garden Corner  are always thinking up creative ways to use plants and decorating for fall is no exception. In this video , Jon uses artificial pumpkins to create unique hanging planters. To my way of thinking, he’s creating little cathedrals for the plants. Consequently, I would shape the openings more like Gothic windows. If the inside of the pumpkin was painted with a glow-in-the-dark paint, I wonder if that would create interesting silhouettes at night …

Pumpkin Owl: I marvel at the creativity of some people. Add a few sunflower seeds with a glue gun to a pumpkin and what can you get? An adorable little (or big) owl! Check out the how-to video.

A Better Homes & Garden project: Metallic Pastel Pumpkins
Metallic Pastel Pumpkins: Shimmering pumpkins team up for an eerie evening. Use iridescent spray paint to cover light-color pumpkins (gray, tan, or white). While the paint is still wet, sprinkle the pumpkins with iridescent glitter.


Project: Better Homes & Gardens
Welcoming Pumpkin Wheelbarrow: Place an antique wheelbarrow or old wooden wagon near your door and fill it with a cheery mix of fall gourds, berry vines, and pumpkins. Then, use paint, permanent marker, or sticker letters to decorate the pumpkins with a friendly fall welcome.

Faux Bois pumpkin. Project: Martha Stewart Living
Faux Bois Pumpkin: The Martha Stewart Living creative crew gave this pumpkin a cool, unexpected twist. They used what they call a carve-by-color technique, which is scraping away the skin and sawing holes in strategic spots to create a pumpkin that looks richly textured and multi-tonal. The faux bois design is done freehand. Improvise to create much of the wood-grain pattern. They offer knot templates to help get you started. Scrape the design with a linoleum cutter and then make free-form lines to fill in the design. Make the eye of each knot by piercing the pumpkin wall with a ceramic hole cutter, apple corer, drill or knife.

Modern Swirly Pumpkin from www.HGTVGardens.com

Modern Swirly Pumpkin: HGTV created this pumpkin with silicone and paint. Very elegant. Check out the how-to photos here.

Project from Better Homes & Gardens

Pumpkin Flames: Better Homes & Gardens came up with this idea and they provide a template for the flame design. Enlarge the flame-shape stencil to suit the sizes of your pumpkins. If you want every pumpkin to have a different look, use the stencil as inspiration for creating your own flame designs. Gut and carve pumpkins, leaving the stems in place. Create a log surround then stack the largest carved pumpkins on the bottom, and work your way up with progressively smaller specimens. Light real votive candles or flickering LED votives in the pumpkins to create the flicker of flames.